5 Easy Steps to Hotwire a Car
Hotwiring is basically when you start up the engine of a vehicle without a key. We’ve all see those movies where a car thief goes underneath the steering system and twists two wires together to start up a vehicle. Is it really that simple in real life? Well, before there were computers and electronic locking systems built into vehicles, hotwiring really was that easy. But it is a little more complicated now that you need to deal with central computer systems which control the locking mechanisms. However, if you come across a vehicle that was made any time before the year 2000, then you will be able to hotwire it easily by following a few simple steps.
The Top 5 Steps for Hotwiring a Car
When you put a key into the ignition of your vehicle and then turn it, an electrical circuit is normally generated that goes from the battery to the ignition and then to the starter motor. Once the starter motor is powered, it ultimately turns on the engine. So, when you are hotwiring a vehicle, you are generating this electrical circuit yourself without the use of a key.
Read also: 5 Useful and Easy Tips to Clean Your Car Headlights
Please note that hotwiring can be risky to both your personal safety and the wellbeing of the vehicle. There is always the chance of an electrical shock if proper precautions are not taken. The wiring of the vehicle could also get damaged from this. That is why you should only hotwire a vehicle in an emergency situation. And, obviously, don’t do this to steal any vehicles because that is against the law.
Below are 5 easy steps for hotwiring a car.
Step # 1 – The first thing you should do is take a screwdriver and place it into the keyhole of the ignition system (which is called the ignition tumbler). Turn the key and see if it can start the car that way. With certain cars, this is all you’ll need to do to start the engine. But for other more sophisticated cars, you’ll need to continue with other steps.
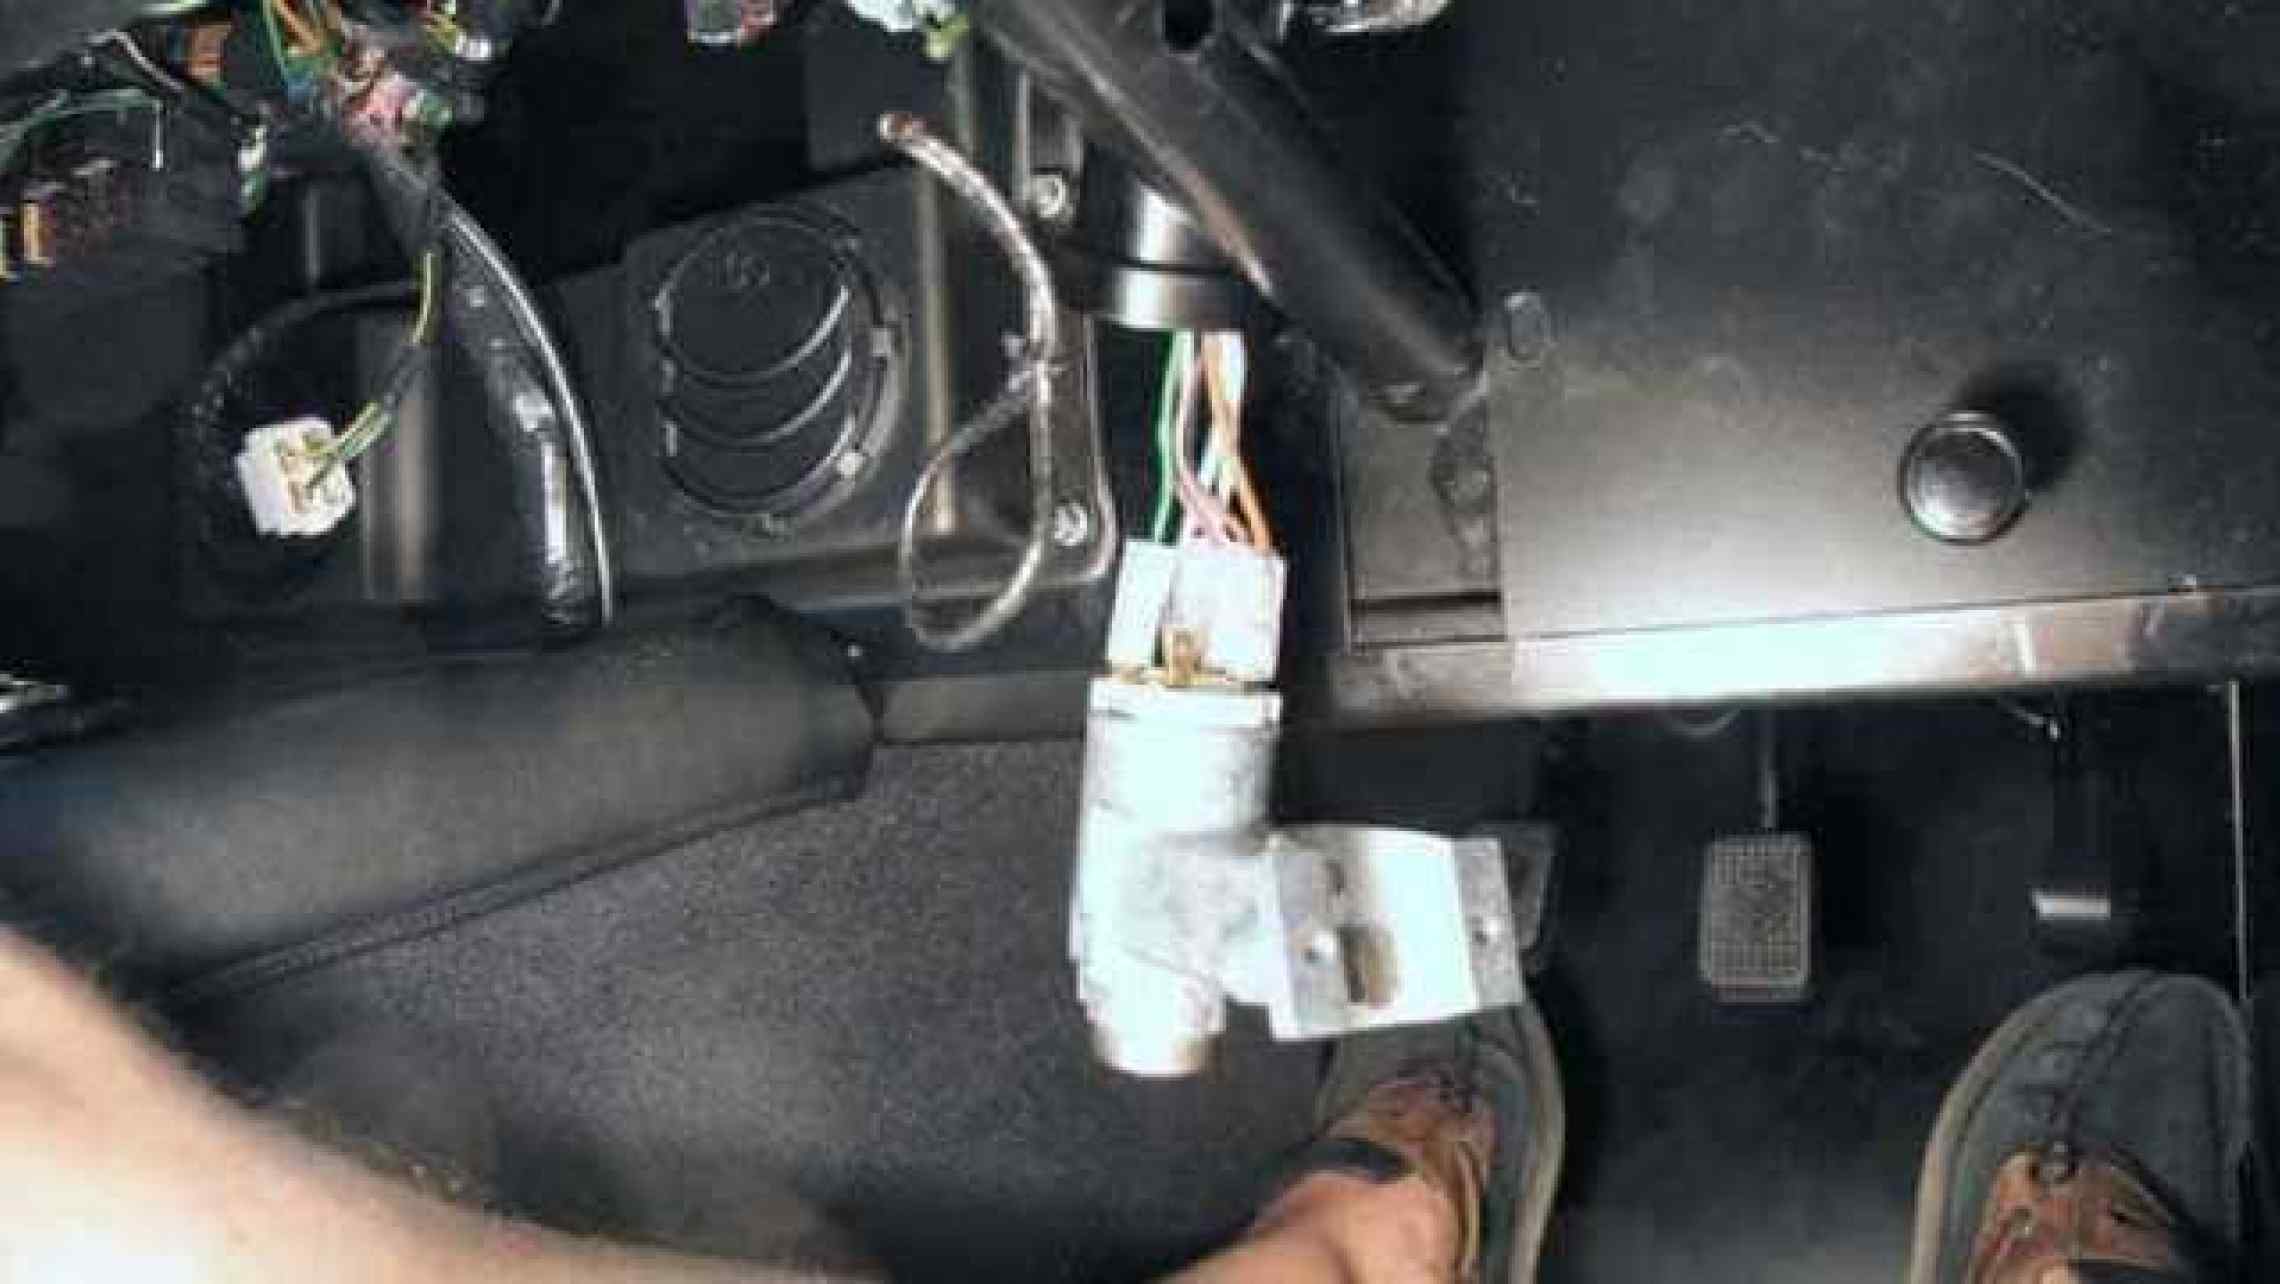
Step # 2 – Use the screwdriver to remove the screws on the steering column. You should easily be able to see these screws on both sides of the steering column. Once they are removed, you will see access panels. Remove the access panels by just pulling them out. Now the wires of the ignition system will be revealed.
Step # 3 – You should see 3 bundles of wires with their own separate colors. There is a bundle for the car lights, another for the wipers and warmers, and another for the battery and ignition. The latter is what you will be focusing on. This bundle will have wires connecting to the battery, starter motor, and ignition system. Figure out which wire is connected to the ignition system and which is connected to the battery.
Step # 4 – Use a wire clipper to cut some of the insulation off from each end of the two wires. Now you just take those ends and twist them together with your hands and fingers. If done correctly, the ignition, radio, and lights should all turn on. Next, you’ll want to find the wire which connects to the starter motor and slice a piece of the insulation off from its end too. Take the end of the wire and have it touch the ends of the other two. This should start the engine. Tape the ends together to keep it that way.
Step # 5 – Alternatively, if the above doesn’t work, take a cordless electric drill and drill into the keyhole about the length that your key would usually go in. You may need to take out the drill a few times as you’re drilling because this will help get rid of the locking pins. Now take the drill out and stick in the screwdriver, then turn it. Your engine should start running now


